Key Takeaways
- The full process happens in 3 stages: consultation with 3D CT imaging, surgical implant placement (1 hour per implant), and crown attachment after healing.
- CT-guided placement at ADC means the titanium post is positioned to within 0.5mm accuracy — reducing surgery time and improving outcomes.
- Local anesthesia is standard; sedation is available for patients with anxiety or multiple implants in one visit.
- CEREC same-day crown technology lets some patients leave with a permanent crown the same day as a single-implant placement.
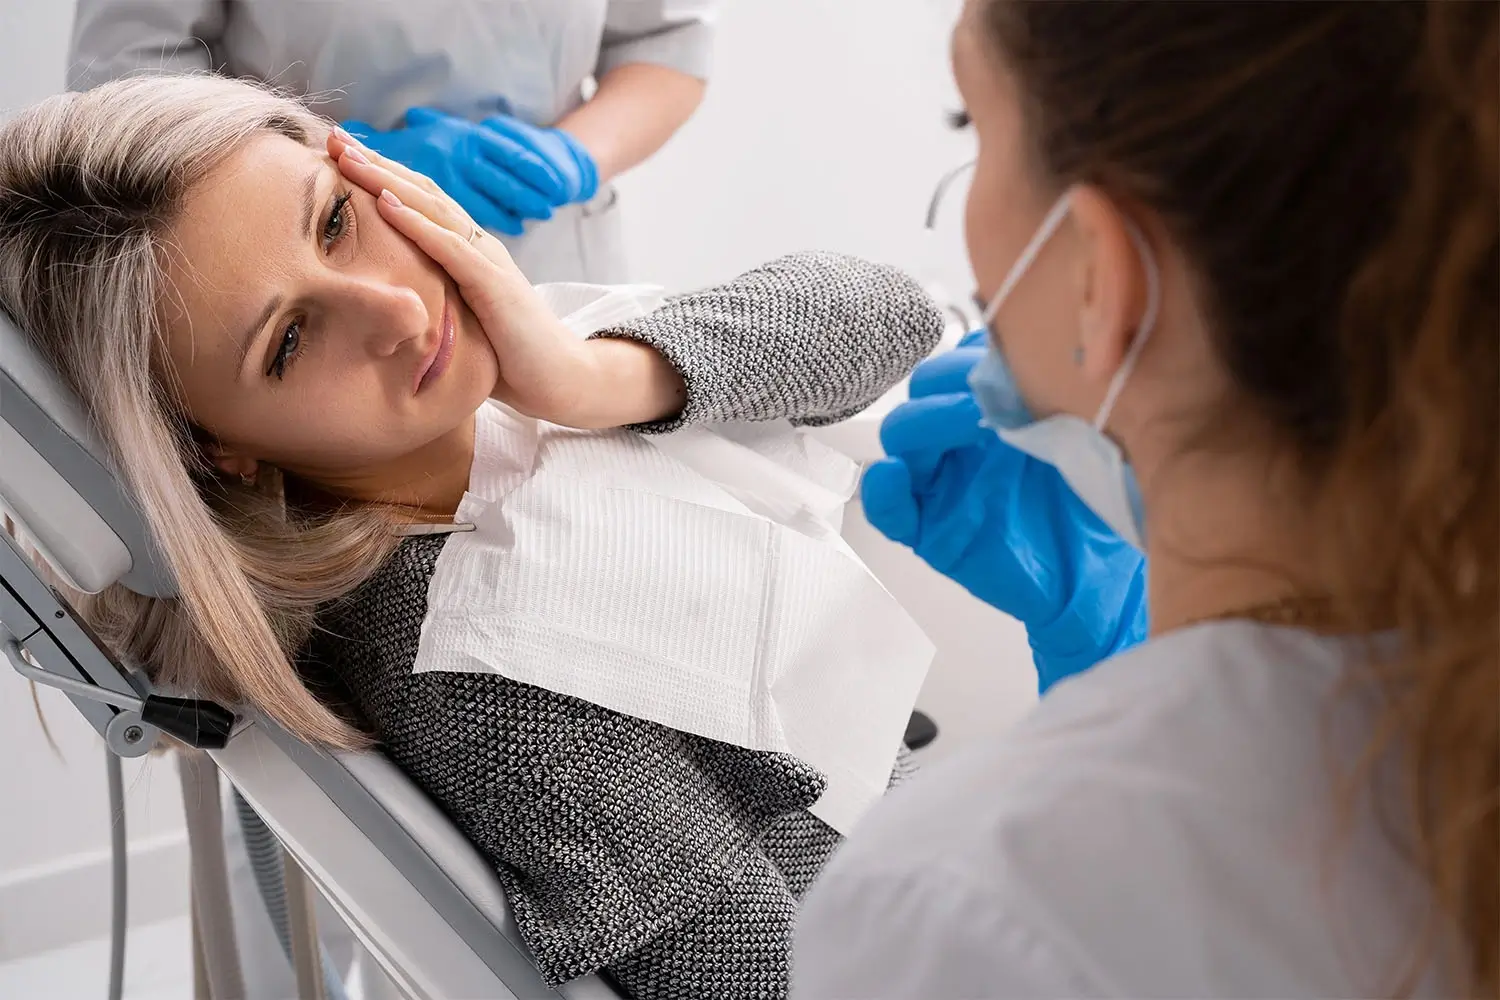
Fear of the unknown keeps many people from getting dental implants. They know they need them, they understand the benefits, but uncertainty about the actual procedure holds them back.
The truth is that modern dental implant surgery is straightforward, comfortable, and far less intimidating than most people imagine. At Advanced Dental Center in Louisville, Dr. Rachel Talis performs implant procedures regularly, and most patients are surprised by how smooth the experience is.
Let’s walk through exactly what happens during the dental implant process, from your first consultation through your final restoration. Understanding each step will help you feel confident and prepared as you move forward with treatment.
For current Louisville implant pricing and payment options, see our implant cost guide.
Phase 1: Initial Consultation and Treatment Planning
Your implant journey begins before any surgery takes place. This planning phase is crucial for ensuring successful outcomes and might be the most important part of the entire process.
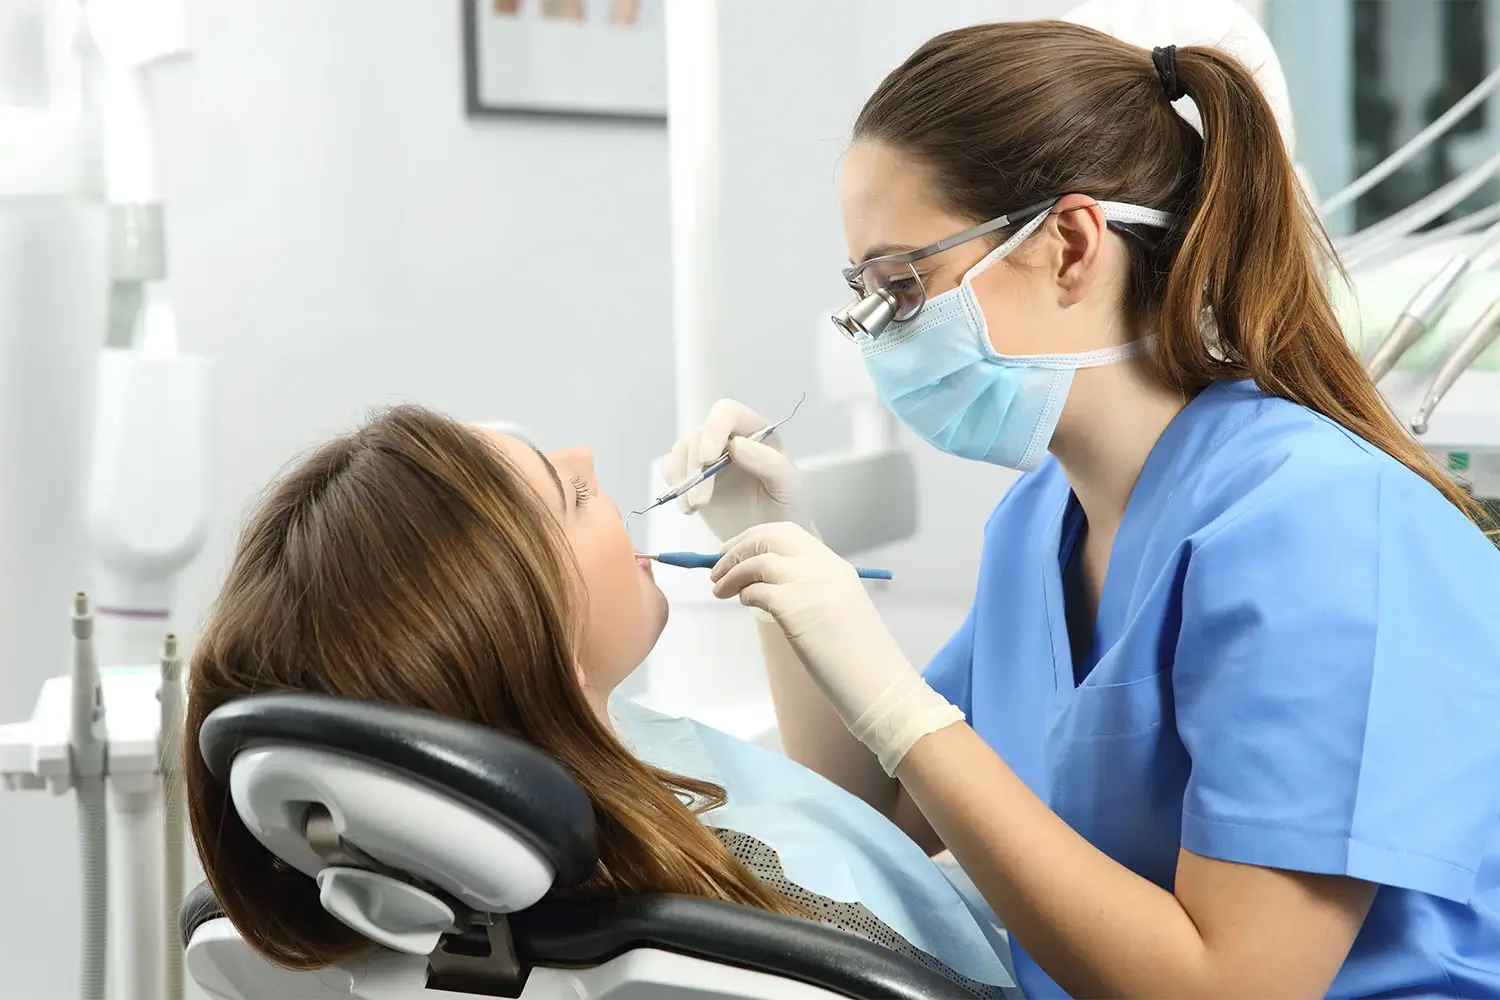
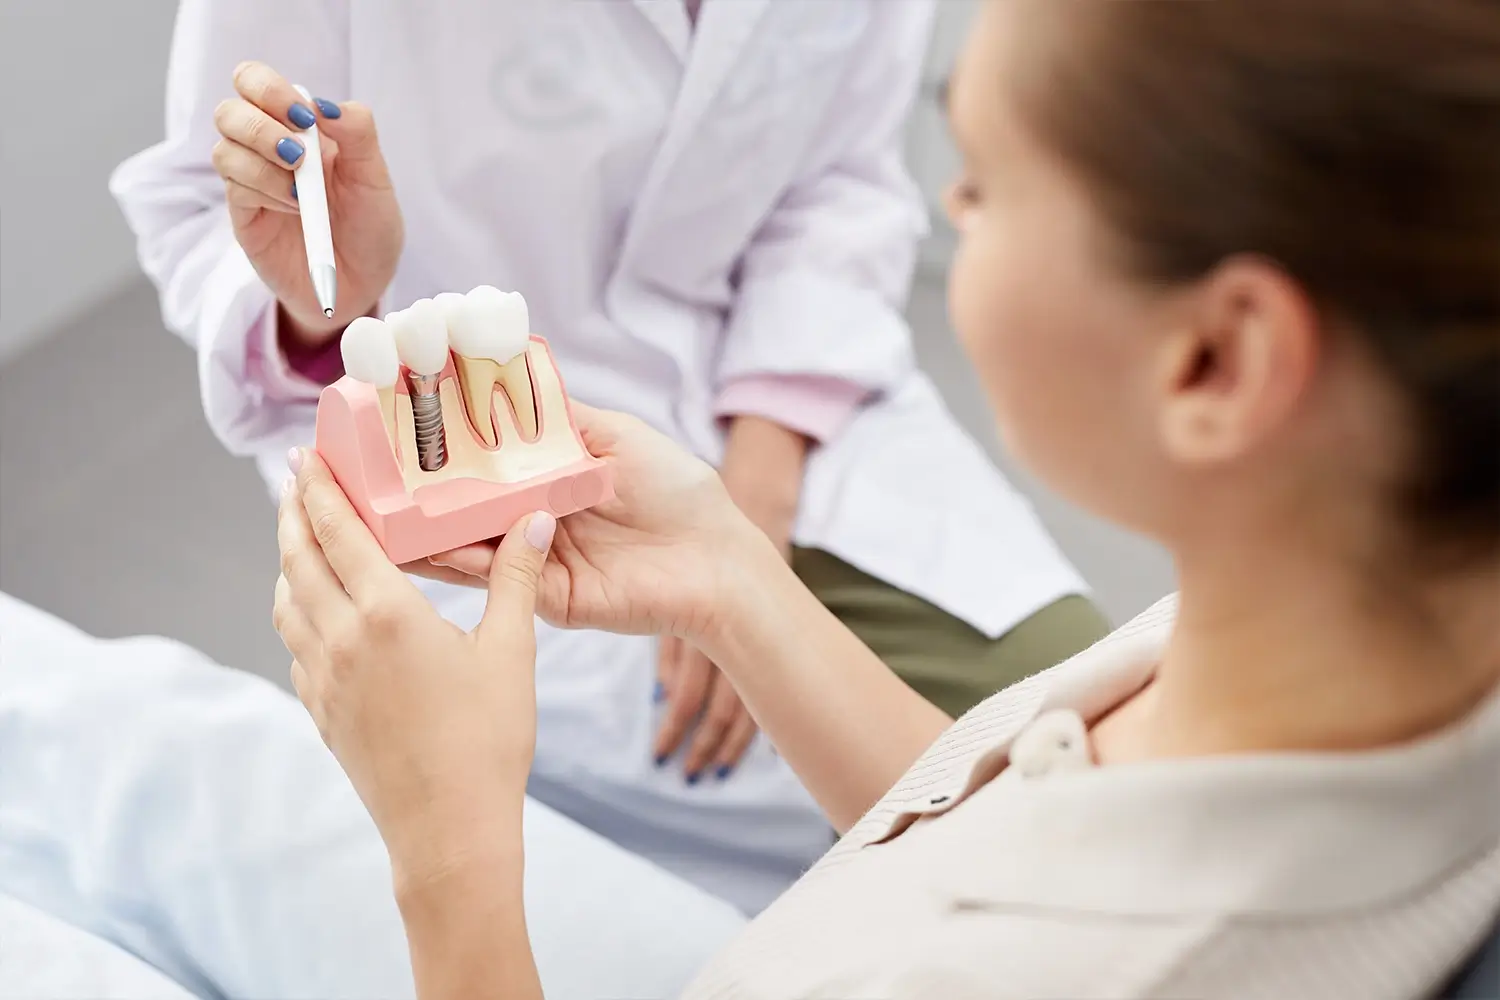
Comprehensive Oral Examination
During your first visit to Advanced Dental Center, Dr. Talis will conduct a thorough examination of your mouth. She’ll assess your remaining teeth, check your gum health, and examine the areas where teeth are missing.
This examination helps identify any issues that need to be addressed before implant placement. Active gum disease, for instance, must be treated first to ensure healthy tissue around the future implant. Infected teeth near the implant site may need extraction. Any cavities or other dental problems should be resolved to create the healthiest possible environment for your implants.
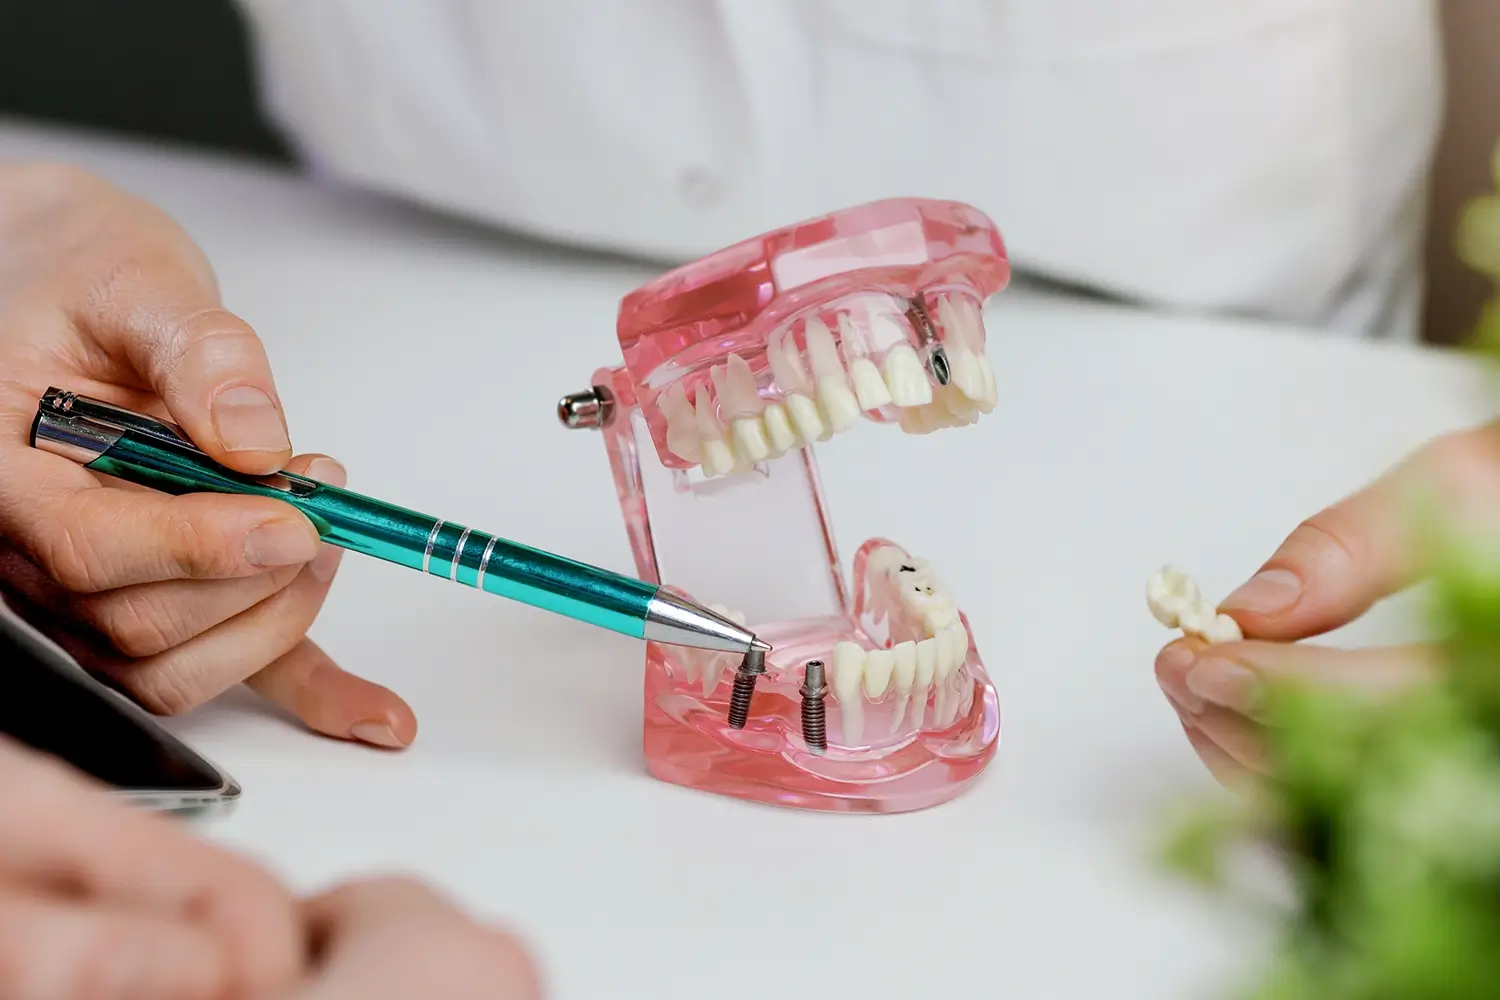
3D Imaging and Bone Assessment
Traditional X-rays only show two dimensions, which isn’t sufficient for precise implant planning. That’s why Advanced Dental Center uses advanced 3D imaging technology that creates a complete three-dimensional picture of your jaw.
This imaging reveals critical information: bone density, bone volume, the exact location of nerves and sinuses, and the optimal position for implant placement. Dr. Talis can virtually plan your entire surgery using this technology, determining the precise angle and depth for each implant.
This level of planning wasn’t possible even a decade ago. It significantly improves success rates and reduces complications by allowing your dentist to anticipate and avoid potential problems before surgery begins.
Medical History Review
Your overall health impacts implant success, so Dr. Talis will review your complete medical history. Certain conditions and medications affect healing and may require special considerations.
Diabetes: Uncontrolled diabetes can impair healing and increase infection risk. If your blood sugar is well-managed, implants are still very successful, but we may take extra precautions.
Osteoporosis medications: Some medications used to treat osteoporosis, particularly bisphosphonates, can affect jawbone healing. Dr. Talis may consult with your physician to determine the safest approach.
Smoking: This is the most significant controllable risk factor for implant failure. Smoking reduces blood flow to the gums, impairs healing, and significantly increases the risk of complications. If you smoke, Dr. Talis will discuss cessation programs to improve your chances of success.
Blood thinners: If you take anticoagulant medications, we’ll coordinate with your prescribing physician to determine whether adjustments are needed before surgery.
Treatment Plan and Cost Discussion
Once Dr. Talis has all the necessary information, she’ll create a personalized treatment plan. This plan outlines:
- The number of implants needed
- Whether any preparatory procedures are required (bone grafting, extractions, etc.)
- The complete timeline from start to finish
- Detailed cost breakdown
- Your financing options
At Advanced Dental Center, we believe in transparency. You’ll know exactly what to expect, both clinically and financially, before committing to treatment. We’ll work with your insurance to maximize your benefits and offer flexible payment plans to make implants affordable.
If you’re deciding between single or multiple implants, Dr. Talis will explain the pros and cons of each approach for your specific situation.
Phase 2: Preparatory Procedures (If Needed)
Not everyone needs preparatory work before implants, but many patients do. These procedures create the foundation for successful implant placement.
Tooth Extraction
If you still have a damaged or infected tooth in the location where an implant will go, it needs to be removed first. In some cases, an implant can be placed immediately after extraction, a technique called “immediate placement.” In other situations, the extraction site needs to heal for several months before implant placement.
Dr. Talis will determine the best approach based on the condition of the extraction site and surrounding bone. Immediate placement saves time, but sometimes allowing the area to heal completely leads to better long-term outcomes.
Bone Grafting
Bone grafting becomes necessary when you don’t have sufficient bone to support an implant. This is common if you’ve been missing a tooth for a long time or if infection destroyed bone around a tooth.
During a bone graft, Dr. Talis places bone material (either your own bone, donor bone, or synthetic material) into the deficient area. Over several months, your body incorporates this material and creates new, strong bone.
The healing time for bone grafting typically ranges from three to six months, depending on the size of the graft. While this extends your treatment timeline, it’s essential for long-term implant success. Research published in the International Journal of Oral and Maxillofacial Implants shows that properly grafted sites have implant success rates comparable to sites with naturally adequate bone.
Sinus Lift
If you need an implant in your upper back jaw where bone height is limited, you might require a sinus lift. This procedure creates more space for the implant by gently lifting the sinus membrane and placing bone graft material underneath.
Sinus lifts sound more intimidating than they are. Most patients experience minimal discomfort and are pleasantly surprised by the straightforward recovery. The procedure typically adds four to six months to your timeline but makes implant placement possible in areas that would otherwise lack sufficient bone.
Phase 3: Implant Placement Surgery
Now we get to the main event: placing the actual dental implant. This is the procedure most people worry about, but modern techniques and anesthesia make it comfortable and routine.
Pre-Surgery Preparation
On the day of your surgery, arrive at Advanced Dental Center with a clean mouth. Brush and floss thoroughly beforehand. If you’ve been prescribed antibiotics to take before the procedure, make sure you take them as directed.
Wear comfortable clothing and avoid wearing valuable jewelry or contact lenses. If you’re receiving sedation beyond local anesthesia, arrange for someone to drive you home afterward.
Anesthesia and Comfort Measures
Dr. Talis will ensure you’re completely numb before beginning. Most implant procedures are done under local anesthesia, the same type used for fillings or extractions. You’ll be awake but won’t feel any pain in the treatment area.
For patients with dental anxiety or those undergoing extensive procedures, Advanced Dental Center offers additional sedation options. Oral sedation helps you relax while remaining conscious. The goal is making your experience as comfortable as possible.
The Surgical Process
Once you’re numb, Dr. Talis will make a small incision in your gum tissue to expose the bone underneath. Using specialized drills, she’ll carefully create a space in the bone precisely sized for your implant.
This drilling process sounds scary but is carefully controlled. The site is constantly irrigated with sterile solution to prevent overheating and ensure precision. Each drill is progressively slightly larger, gradually preparing the site rather than making one large hole.
Once the site is prepared, the titanium implant post is carefully threaded or pressed into place. The implant should fit snugly with good primary stability. Dr. Talis will check the positioning, ensuring the implant is at the optimal depth and angle.
After the implant is seated, a healing cap (also called a cover screw) is placed on top to protect it during healing. The gum tissue is then carefully sutured closed over the implant. In some cases, a healing abutment is used instead, which extends through the gums, eliminating the need for a second surgery later.
The entire process for a single implant typically takes one to two hours. Multiple implants obviously take longer, but the time per implant decreases as your dentist works efficiently.
Immediate Post-Surgery
Right after the procedure, you’ll receive detailed post-operative instructions. Dr. Talis will provide prescriptions for pain medication and antibiotics if needed. You’ll also get a list of foods to avoid and care instructions for the surgical site.
Most patients experience swelling and mild to moderate discomfort for a few days. This is completely normal and manageable with over-the-counter pain relievers like ibuprofen. Applying ice packs for the first 24 hours helps minimize swelling.
You’ll be able to eat, but stick to soft foods for the first week. Think mashed potatoes, yogurt, smoothies, and soup. Avoid the surgical site when chewing, and don’t use a straw, as the suction can disrupt healing.
Phase 4: Healing and Osseointegration
After implant placement comes the waiting period. This is when the magic happens: your bone grows around and fuses with the titanium implant.
Understanding Osseointegration
Osseointegration is the process of your bone cells growing onto and into the microscopic rough surface of the titanium implant. This biological bonding is what makes dental implants so strong and permanent.
The process typically takes three to six months. Lower jaw implants often integrate faster (three to four months) because the bone is denser. Upper jaw implants may take longer (four to six months) due to softer bone quality.
During this time, you won’t feel anything happening. The implant should remain pain-free after the first week or two. You’re healing at a cellular level, with new bone continuously forming around the implant threads.
Temporary Tooth Replacement
Nobody wants to walk around with a gap in their smile for months. If your missing tooth is visible when you smile or speak, Dr. Talis will provide a temporary replacement during the healing period.
Options include a temporary partial denture (flipper), a temporary bridge, or in some cases, a temporary crown attached directly to the implant if it has sufficient stability. The temporary solution depends on the implant location and your specific needs.
What to Expect During Healing
The first few weeks after surgery are the most critical. Follow Dr. Talis’s instructions carefully:
Keep the area clean. Gently brush around the surgical site, avoiding direct contact with stitches. Use an antibacterial mouthwash as directed.
Avoid disturbing the site. Don’t poke the area with your tongue or fingers. Resist the urge to look at it constantly.
Watch for warning signs. Some swelling and discomfort are normal, but severe pain, excessive swelling, fever, or bleeding that doesn’t stop with pressure could indicate a problem. Contact Advanced Dental Center immediately if you experience these symptoms.
Attend follow-up appointments. Dr. Talis will want to see you a week or two after surgery to check healing and remove stitches. Don’t skip these appointments.
Be patient. This phase requires waiting, which can be frustrating. Remember that proper osseointegration is what gives your implant its incredible strength and longevity.
Phase 5: Abutment Placement
Once your implant has fully integrated with your bone, you’re ready for the next step: attaching the abutment. This is a relatively minor procedure compared to the initial surgery.
The Second Surgery (If Needed)
If your implant was placed with a cover screw and the gum was closed over it, a small second surgery is needed to expose the implant. Dr. Talis will numb the area, make a small incision in the gum, and remove the cover screw.
This procedure is much quicker and easier than the initial surgery, typically taking only 15 to 30 minutes. Many patients don’t even need pain medication afterward.
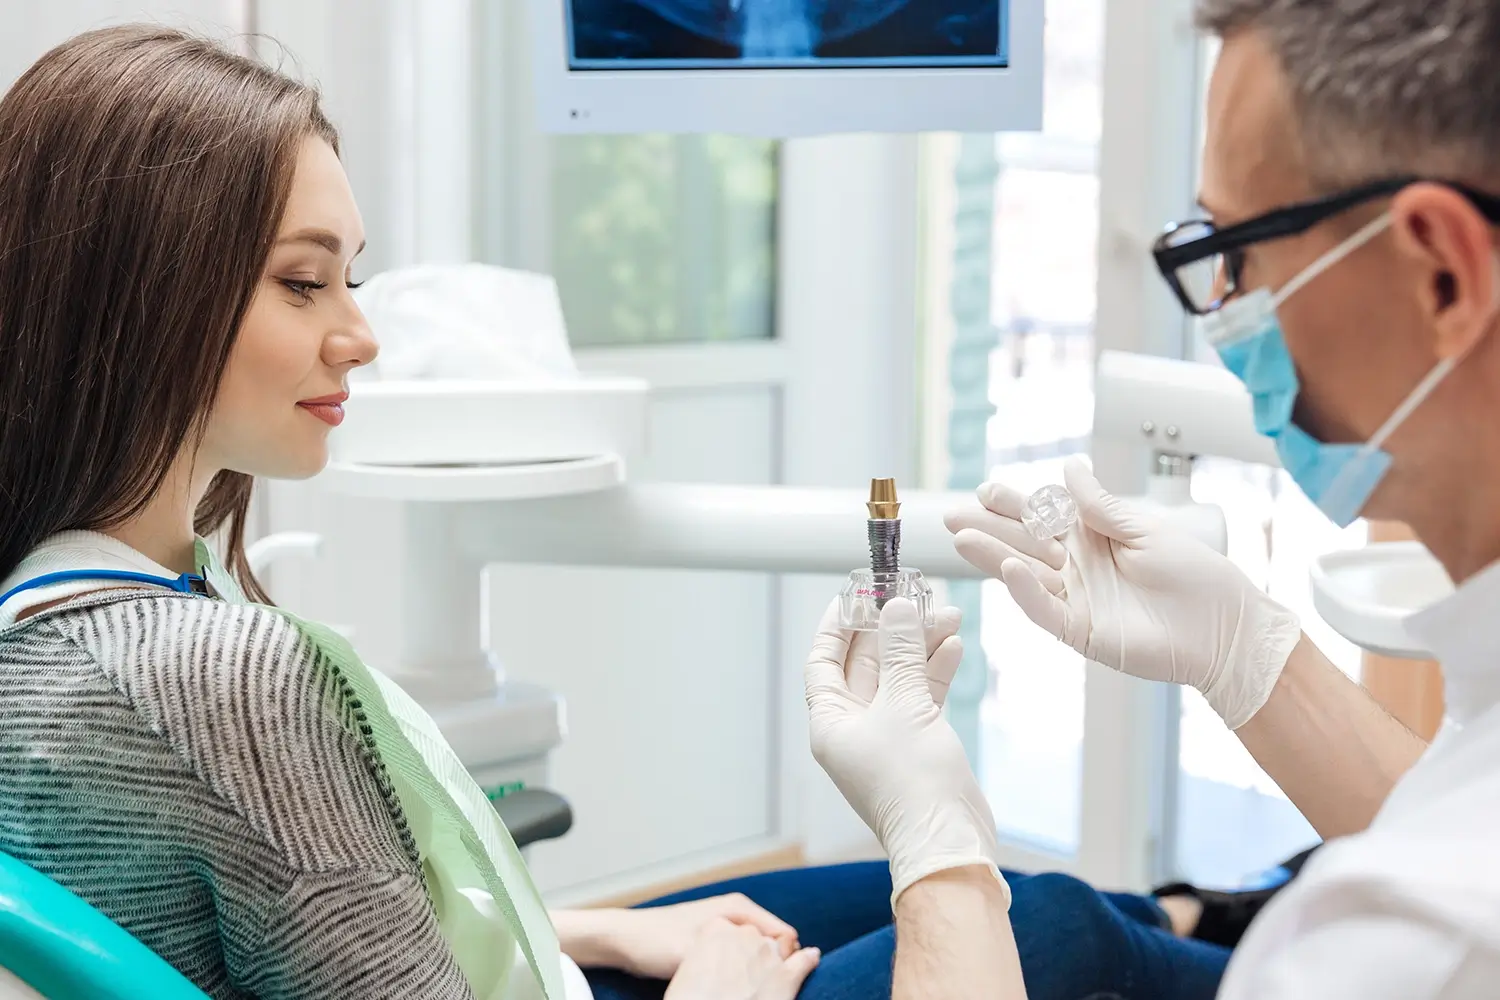
Attaching the Abutment
The abutment is the connector piece that extends through your gum and provides an attachment point for your crown. It’s screwed directly into the implant post.
Once the abutment is attached, your gums need a week or two to heal around it and create a natural-looking contour. This gum shaping is important for aesthetics, particularly for front teeth.
Taking Impressions
After your gums have healed around the abutment, Dr. Talis will take impressions or digital scans of your teeth. These create an exact model of your mouth that the dental lab uses to craft your custom crown.
The impressions capture not just the implant site but also your bite relationship and the shape and color of your adjacent teeth. This information ensures your crown fits perfectly and looks completely natural.
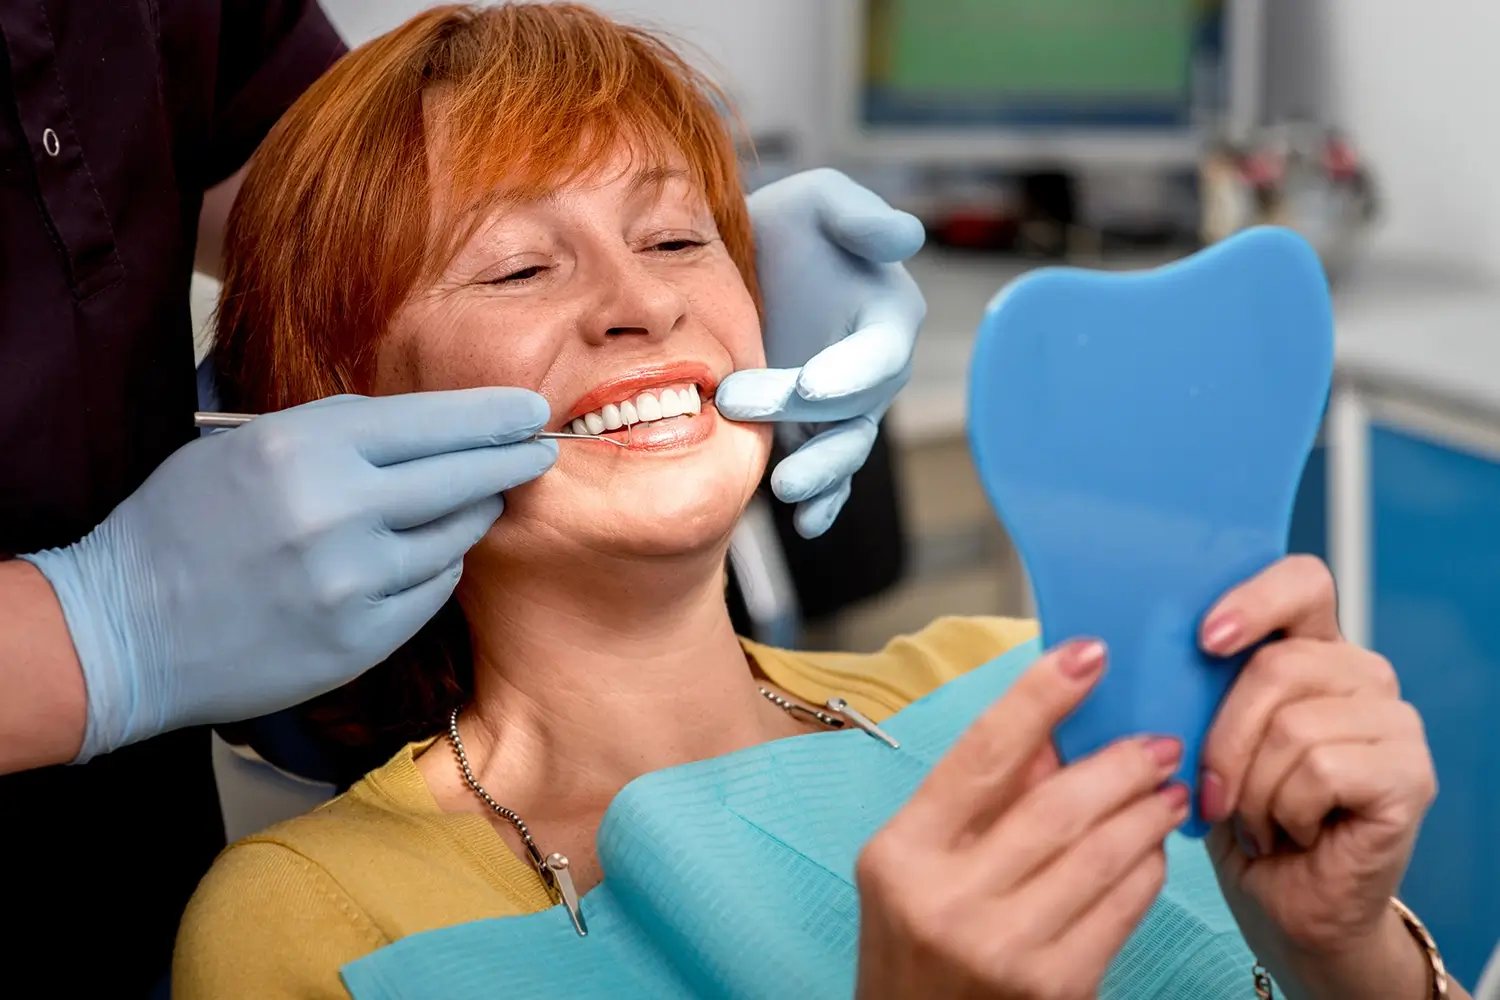
Phase 6: Final Crown Placement
The final phase is the moment you’ve been waiting for: receiving your permanent crown. This transforms your implant from a titanium post in your jaw into a functional, beautiful tooth.
Custom Crown Fabrication
Your crown is custom-made in a dental laboratory by skilled technicians. They use the impressions and specifications provided by Dr. Talis to create a crown that matches your natural teeth perfectly.
The crown material is typically porcelain or ceramic for front teeth, chosen for its translucent, tooth-like appearance. Back teeth may use porcelain fused to metal or solid zirconia for extra strength to handle chewing forces.
The lab technician considers multiple factors: tooth shape, size, color, surface texture, and how the crown will fit with your bite. The goal is creating a crown so natural-looking that even you might forget it’s not your original tooth.
Fabrication usually takes about two weeks. In the meantime, you’ll continue wearing your temporary crown if you have one.
Crown Delivery Appointment
When your crown is ready, you’ll return to Advanced Dental Center for the final appointment. Dr. Talis will first place the crown to check the fit, appearance, and bite.
She’ll make any necessary adjustments to ensure everything is perfect. The crown should contact your adjacent teeth appropriately, not be too high or too low in your bite, and look completely natural.
Once you and Dr. Talis are satisfied with the fit and appearance, the crown is permanently secured to the abutment. For most crowns, this means screwing or cementing it in place.
And just like that, your implant treatment is complete. You now have a permanent, fully functional tooth that will serve you for decades.
Ongoing Care and Maintenance
After all that time and effort, you want your implant to last as long as possible. Fortunately, caring for dental implants is straightforward.
Daily Home Care
Care for your implant crown exactly like you would a natural tooth:
Brush twice daily with a soft-bristled toothbrush. Pay attention to where the crown meets the gum.
Floss once daily around the implant. The floss should slide under the crown margin to remove bacteria and food particles.
Use an antibacterial mouthwash to reduce bacterial levels around the implant.
The implant crown won’t get cavities since it’s made of porcelain or ceramic, but the tissue around the implant can become infected if bacteria accumulate. This condition, called peri-implantitis, is similar to gum disease and can lead to implant failure if left untreated.
Professional Maintenance
Visit Advanced Dental Center every six months for professional cleanings and examinations. During these appointments, your hygienist will:
- Clean around the implant carefully to remove any buildup
- Check the health of the tissue around the implant
- Verify that the implant crown is still secure
- Take periodic X-rays to monitor the bone level around the implant
Dr. Talis will also check your bite to ensure even pressure distribution. An unbalanced bite can stress the implant over time.
Signs of Potential Problems
While implant failure is rare, knowing warning signs helps you catch problems early:
- Pain or discomfort around the implant
- Swelling or redness of the gums
- Bleeding when brushing or flossing
- Looseness of the crown or implant
- Unpleasant taste or odor
If you notice any of these symptoms, contact Advanced Dental Center right away. Most implant problems can be resolved if caught early.
For more detailed information about long-term implant care, read our guide on dental implant recovery and maintenance.
Timeline Summary: From Start to Finish
Let’s put the entire process together to understand the complete timeline:
Consultation and Planning: 1-2 visits over 2-3 weeks
Preparatory Procedures (if needed):
- Extractions: heal 3-6 months
- Bone grafting: heal 3-6 months
Implant Placement Surgery: 1 visit, 1-2 hours per implant
Osseointegration Healing: 3-6 months
Abutment Placement: 1 visit, heal 1-2 weeks
Crown Fabrication and Delivery: 2 visits over 2-3 weeks
From start to finish, plan on four to eight months for straightforward cases. Complex cases requiring bone grafting or other preparatory work may take 12 to 18 months.
This might seem like a long time, but remember: you’re creating a permanent solution that should last the rest of your life. The investment of time is well worth the outcome.
What Makes Advanced Dental Center Different
Every dental office can place implants, but not every office provides the same level of care, technology, and experience.
At Advanced Dental Center, you benefit from:
Advanced 3D planning technology that improves precision and reduces complications
Comprehensive care under one roof so you never need referrals to specialists
Multiple convenient locations throughout Louisville atPreston Highway,St. Matthews,Middletown, andBrooks Hill
Same-day scheduling to get you started quickly
Flexible financing options that make implants accessible regardless of your budget
Dr. Rachel Talis’s expertise and gentle touch, perfected through years of implant placement
Ready to Begin Your Implant Journey?
Now that you understand exactly what the dental implant process involves, the unknown becomes known. Most patients tell us their implant experience was far easier than they expected.
The hardest part is taking the first step. Once you schedule your consultation, everything else follows a clear, manageable path. Dr. Talis will guide you through each phase, answering your questions and ensuring your comfort every step of the way.
Don’t let missing teeth continue affecting your life. The complete dental implant process might take several months, but the result is worth it: a permanent, natural-looking tooth that restores your smile, your confidence, and your ability to eat whatever you want.Contact Advanced Dental Center today to schedule your implant consultation. Your new smile is just a phone call away.
Considering dental implants? Explore dental implants at Advanced Dental Center and implant costs & financing options.